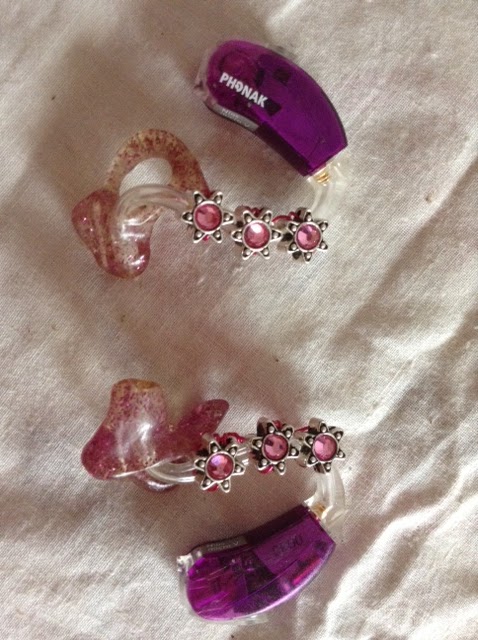
I am taking all of these to my audiologist on Thursday. He will give them out to other girls who use hearing aids like me. Sometimes children don't know they can decorate their hearing aids, and they don't like wearing them. I hope my decorations will help them feel happy to have hearing aids.
I also made these:

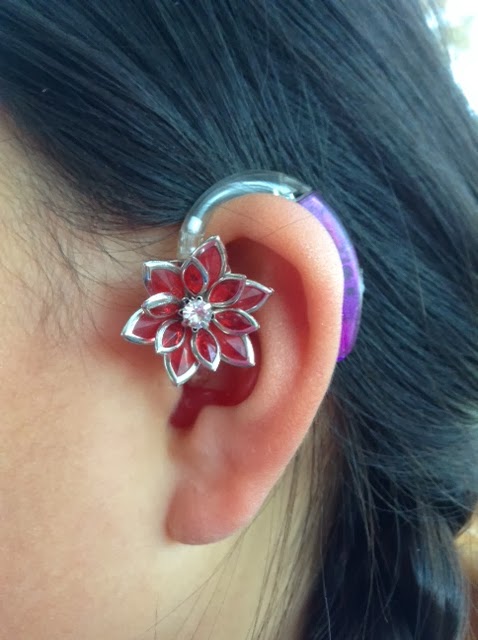
These are for me!
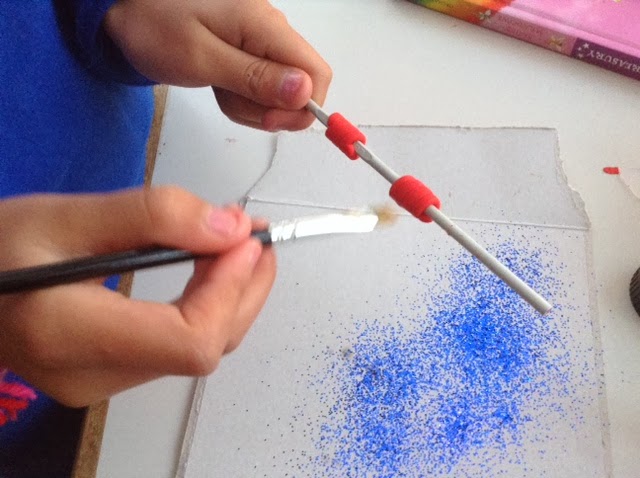
You can see how to make this kind of decorations with pictures and texts in an older post, here.
Or you can see it in this video (the video is in two parts):